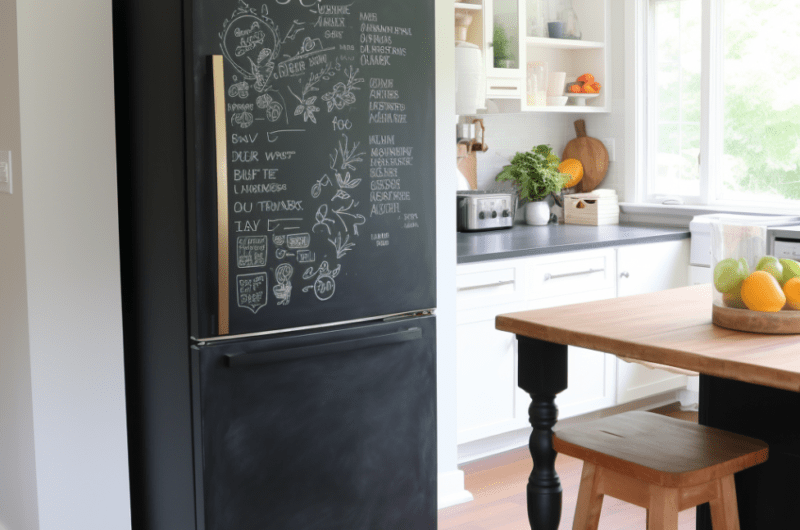
Throw on your overalls and grab your toolbelt, folks! We’re turning your everyday fridge into a chalkboard masterpiece that’s bound to turn heads and raise eyebrows. No longer shall we live in a world where the fridge is just a cold food storage unit! ????
This groovy project is an off-the-charts way to ramp up your kitchen’s fun factor. Your fridge will go from “storage cold” to “fashionably bold,” becoming a hotspot for your weekly meal plans, grocery lists, or even for some Picasso-esque fridge art! ????♀️✨
Kick Things Off with a Clean Slate
Ensure your fridge is as clean as a whistle, free from any fridge magnets, pictures or ancient sauces lurking in the corners. A sparkling fridge is a happy fridge, and happiness is the foundation of a successful DIY project, isn’t it? ????
Take a damp cloth with a dash of mild soap and give your fridge the spa treatment it never knew it needed. Make sure to wipe it dry afterward – we wouldn’t want any water droplets crashing our chalkboard party. ????????
The Great Tape Race
Next, channel your inner Michelangelo and turn the artistry up a notch. Grab some painter’s tape and mark the boundaries for your chalkboard. Feel free to let your creativity fly. Remember, in the game of DIY, there are no rules, just guidelines. ????????️
Pro-tip: The tape also acts as a barrier that guards the rest of your fridge from the chalkboard paint. Double trouble! ????????️
Make sure the tape is properly adhered to the surface, ensuring no paint sneaks under it. Patience, grasshopper – perfection can’t be rushed! ????
Paint the Town, or at Least the Fridge
With the boundaries set, it’s time to show off your painting skills. Dip your brush into the chalkboard paint can and spread it smoothly over the designated area. Make sure the paint layer is even, avoiding any mini-mountains or valleys. ????????️
Allow the first coat to dry completely before attempting the second run. The waiting might be the hardest part, but remember, good things come to those who wait. ????️????
Once you’ve added the final touches, give it ample time to dry. Patience, again, is key. You wouldn’t want to mess up your masterpiece with some premature doodling, right? ????️????️
Chalkboard Fridge DIY
Difficulty: Easy30
$A fun and creative DIY project to turn your refrigerator into a chalkboard.
Equipment
- Tools
Chalkboard Paint
Painter’s Tape
Paintbrush
Cloth
Mild Soap
Instructions
- Clean the fridge surface thoroughly with a damp cloth and mild soap. Wipe it dry.
- Using painter’s tape, mark the boundaries for your chalkboard.
- Paint the designated area with chalkboard paint, ensuring an even layer. Let it dry completely before applying the second coat.
- After the final layer, allow ample time for the paint to dry. Avoid touching or writing on it prematurely.
Notes
- Ensure the paint is suitable for the material of your fridge.
- Take care not to use abrasive cleaning products on the chalkboard surface as they might damage it.
Frequently Asked Questions
1. Is this chalkboard fridge DIY safe for all refrigerator surfaces?
The chalkboard paint is generally safe for most refrigerator surfaces. However, it’s always a good idea to test on an inconspicuous spot first.
2. Can I use any type of chalk on this DIY chalkboard fridge?
Regular chalk works best for writing on the chalkboard fridge. Chalk markers may be too abrasive for the surface.
3. How can I clean the chalkboard surface?
Use a damp cloth or a chalkboard eraser to clean the surface. Don’t use any harsh cleaners as they could damage the paint.
4. Can I repaint my fridge if I get tired of the chalkboard look?
Yes, you can repaint your fridge. However, you will need to lightly sand the chalkboard surface before applying a new type of paint.

