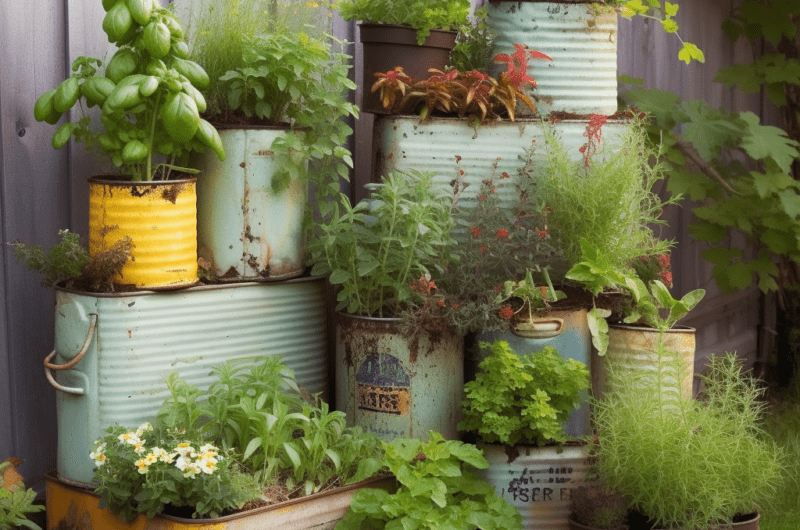
Bring a breath of fresh air into your home with this upcycled container herb garden! ???? Embrace the spirit of recycling and give your old containers a new lease of life. This eco-friendly project combines gardening, home decor, and upcycling in a way that’s so ingenious, it’s almost ‘plantastic’! ????
What’s more? This DIY project will not only brighten up your space but also be a fresh source of herbs for your kitchen. Talk about a garden-to-table experience, right at home! ???? And don’t worry, you don’t need a green thumb to nail this project. Just some enthusiasm and a bit of your time!
Let’s Gather Our Tools and Materials
First things first. Let’s rustle up everything we need for this ‘green’ endeavor. Remember, every great DIY project starts with the right tools and materials. So, without further ado, let’s dive into our checklist! ????
And, oh! Don’t forget to put on your favorite playlist. Because DIY-ing is always better with some tunes! ????
Time to Get Our Hands Dirty (Literally!)
With our tools and materials in place, it’s time to get down to business. In just a few simple steps, we’ll have our container herb garden ready. Trust me, you’re going to enjoy this ‘thyme’! ????
And yes, don’t forget to take a picture of your ‘before’ setup. Because you’re going to want to show off the ‘after’! ????
Let’s get started, shall we? ????
Recycled Container Herb Garden
Difficulty: Easy20
$A fun, eco-friendly DIY project that turns old containers into a lush herb garden.
Equipment
- Tools
Garden trowel
Watering can
Gardening gloves
Drill
Paintbrush
- Materials
Recyclable containers
Herb plants
Potting soil
Non-toxic paint
Clear sealant
Pebbles
Instructions
- Clean your recyclable containers thoroughly and let them dry.
- With the help of a drill, create small drainage holes at the bottom of each container.
- Now it’s time to let your creativity shine. Paint your containers using non-toxic paint. Make sure to apply at least two coats for a vibrant look. Let the paint dry fully.
- After the paint has dried, apply a layer of clear sealant to protect the paint job from water and dirt. Let the sealant dry.
- Put a layer of pebbles at the bottom of each container. This improves the drainage system and helps to avoid root rot.
- Now, fill your containers with potting soil. Leave about an inch from the top.
- Plant your herbs in each container. Remember, one herb per container. Do not overcrowd.
- Water the herbs generously and place your container herb garden in a spot that receives a good amount of sunlight.
Notes
- You can add compost to the potting soil for better growth of herbs.
- Make sure to water the herbs as per their individual needs. Some herbs may need more water than others.
- During winters, move your container garden inside to protect the herbs from frost.
Frequently Asked Questions
1. Can I use any recyclable container for this project?
Yes, you can use any recyclable container for this project. Just make sure it is sturdy enough to hold the soil and plant and can have drainage holes drilled into it.
2. Can I grow any type of herbs in these containers?
Yes, you can grow any type of herbs. However, it’s essential to research each herb’s specific needs regarding sunlight, water, and space as these factors can vary greatly between different herb types.
3. How often should I water the herbs?
The watering frequency depends on the type of herb you are growing. Generally, herbs like basil and mint require more water, while rosemary and thyme like it on the drier side. Always check the soil before watering.

