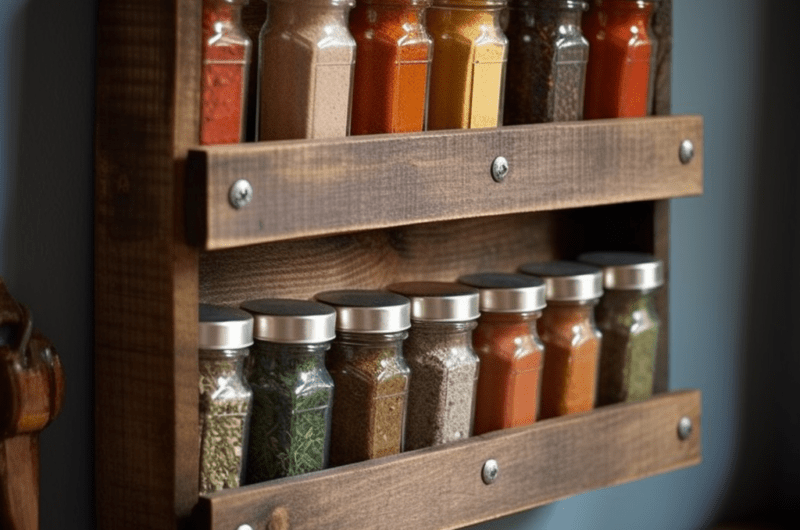
Welcome to the world of upcycling, where your creativity runs the show and your home reaps the benefits! ????
Today, we will be focusing on the heart of your home – the kitchen! ???? We’ll be creating a charming DIY Wall-Hanging Spice Rack that will not only organize your spices in style, but also become a conversation starter when your friends come over for dinner. ????
The Spice of Life is Variety…And Organization! ????
This kitchen DIY will help you transform those everyday spice jars into a work of art, adding a dash of spice to your kitchen decor. Not to mention, this project is an absolute winner when it comes to decluttering your kitchen countertop. Talk about flavor and function! ????
Ready to spice up your life? Grab your tools, it’s thyme to get crafty! ????️
What’s Cooking in the DIY Kitchen? ????
We will be upcycling a wooden pallet into a unique and stylish spice rack. The natural, rustic look of the pallet, combined with your assortment of spices, will create a vibrant color palette that’s pleasing to the eye. And the best part? You’ll always have your spices at your fingertips. Dinner prep just got a pinch easier! ????
So without further ado, let’s roll up our sleeves and get down to business! ????
DIY Wall-Hanging Spice Rack
Difficulty: EasyUpcycle a wooden pallet into a stylish spice rack.
Equipment
- Tools
Saw
Hammer
Nails
Sandpaper
Measuring Tape
- Materials
Wooden Pallet
Wood Stain (Optional)
Clear Protective Finish (Optional)
Instructions
- Start by dismantling the wooden pallet. You can do this by using a saw or a hammer and pry bar. Be careful not to split the wood!
- Once you have your wooden planks, measure and cut them to your desired size.
- Sand the planks to make them smooth. This will prevent any splinters when handling your spice rack.
- Arrange your planks into your desired rack shape. Nail them together securely.
- If you want, you can stain the wood to give it a more polished look. Apply a clear protective finish to prolong the life of your spice rack.
- Attach your spice rack to the wall. Ensure it is securely mounted and ready to hold all your spices!
Notes
- Always be careful when using tools like a saw or hammer. Safety first!
- You can customize the size of your spice rack to fit your kitchen space and spice collection.
- If you decide to stain the wood, make sure to do it in a well-ventilated area.
Frequently Asked Questions
Q1: Can I use a different type of wood?
Absolutely! Feel free to use whatever wood you prefer or have on hand. However, if you choose a softer wood, it may be more prone to wear and tear.
Q2: Can I add extra shelves to the rack?
Of course! The beauty of this DIY project is that it’s completely customizable. You can add as many shelves as you need to accommodate your spice collection.
Q3: Do I need to stain and finish the wood?
Not necessarily. It really depends on your personal preference. Staining and finishing can give the spice rack a more polished look, but it’s completely optional.
Q4: Can I use screws instead of nails?
Yes, you can. If you prefer screws for added stability, go ahead and use them. Just make sure they’re the right size for your wood to avoid splitting it.


