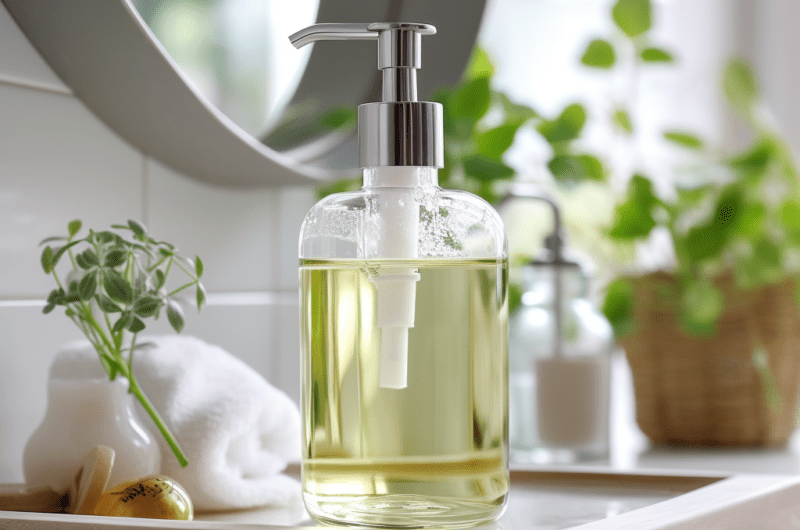
Welcome to another edition of Make Your Own, where we give you the suds and bubbles on how to create homemade items! ???? Today, it’s time to get handsy with an eco-friendly DIY project: How to Make Your Own Liquid Soap at Home. ????????
This crafty concoction will surely make you want to wash your hands even more often, just to admire your soap-making prowess. Not to mention, it’ll make your wallet as full as the soap dispenser! ????
Why Make Your Own Liquid Soap?
Well, aside from the sheer joy of creating something from scratch, it’s a major ???? for Mother Earth! By creating your own soap, you reduce the demand for commercially packaged products that contribute to waste. Plus, this way you get to control what goes on your skin, avoiding all those hard-to-pronounce chemicals. ????
Let’s get soaping! Just remember, cleanliness is next to punliness! ????
The Soapy Scoop
Our main star for this DIY liquid soap is none other than a simple bar of soap. It’s the base of our recipe and the origin of all things clean. Choose one that you like – it could be the cheapest one you find or that special handmade lavender bar from the local farmer’s market. ????
Our other ingredients are just as important: distilled water for dilution and vegetable glycerin for that moisturizing touch. Now, all that’s left is to roll up your sleeves, put on your mad scientist goggles, and start creating! ????????
Oh, and in case you’re wondering, this DIY project is sud-denly easy to do! Get it? Because soap… and suds… Okay, moving on! ????
Step-by-Step Soap Making
Before we start with the soap opera, gather your tools and materials. This part feels a bit like being a chef, except we’re not eating our creation… Or at least we shouldn’t! ????
Ready? Let’s make some soap magic! ????
Here’s a pro tip before we start: Don’t rush the process. This is a slow and steady kind of deal. Just like watching your favorite soap opera, it takes time for the drama to unfold! ????
Make Your Own Liquid Soap at Home
Difficulty: Easy10
$An eco-friendly DIY project for homemade liquid soap. Clean hands, full wallets, can’t lose!
Equipment
- Tools
Cheese grater
Pot
Whisk
Funnel
Soap dispenser
- Materials
Bar of soap
10 cups of distilled water
1 tablespoon of vegetable glycerin
Instructions
- Grate the entire bar of soap. Grating will help the soap to melt quicker. The smaller the flakes, the easier it will dissolve.
- In your pot, bring 10 cups of water to a slight boil.
- Add the soap flakes into the heated water and stir it constantly using your whisk. It will look like a soapy cauldron of wizard’s brew!
- Once the soap flakes have completely dissolved, add 1 tablespoon of vegetable glycerin. This gives your soap that luxurious feel and also acts as a preservative.
- Allow the mixture to cool off. It will thicken slightly but should remain liquid. If it’s too thick, just add more water and stir until you reach the desired consistency.
- Using the funnel, pour your homemade liquid soap into your soap dispenser. Et voilà! You’ve got your own homemade liquid soap!????????????
Notes
- Ensure the soap flakes are fully dissolved to prevent clogging in your soap dispenser.
- If you want a scented soap, consider adding a few drops of essential oils after the soap has cooled.
Frequently Asked Questions
1. Can I use any bar of soap for this DIY project?
Yes, you can. However, it’s best to use a natural, fragrance-free soap to avoid skin irritations. You can add your own essential oils for scent.
2. Why is my soap not foaming as much as store-bought liquid soaps?
Most store-bought soaps contain foaming agents or detergents. Our homemade version is free from these chemicals, which might make it foam less, but it’s still doing a top-notch job at cleaning!????
3. How long does this homemade liquid soap last?
If stored in a cool, dry place, your DIY liquid soap can last for up to 6 months. The addition of vegetable glycerin helps preserve the soap.
4. Can I make this soap in bulk and store it?
Definitely! If you wish to make a larger quantity, simply adjust the measurements. Remember to store the excess in a clean, airtight container.

