

What used to be your ‘hidden shame’ tucked away in the kitchen drawer can now become your ‘tamed mane’ (pun intended ????) of reused grocery bags, ready to be pulled out with ease. No more kitchen tug-of-war!
Let’s Roll Up Our Sleeves!
Firstly, gather your equipment. We will need a clean empty coffee can, a utility knife, acrylic paint, a paint brush, and a roll of clear tape.
To kick off, remove the lid from the coffee can and, using your utility knife, cut a semi-circle hole (about 2 inches wide) in the plastic lid. This is the spot your bags will ‘pop’ out from. Be careful with the knife, and try not to cut your dance moves short! ????
Bring On the Rainbow!
Now, it’s time to add some life to our container. Unleash your inner Picasso and paint the can with the acrylic paint. You could go with a single color, a multitude of them, or even paint a mini-mural. The world is your canvas! ????
Let the painted can dry for a couple of hours. During this time, you could channel your impatience into some cha-cha-cha or just kick back and relax. ????
Once the paint is completely dry, put the lid back on the can. Take your clear tape and reinforce the cut edge of the semi-circle on the lid. This will protect your hands from any sharp edges when you reach for a bag.
Bag it Up!
Finally, it’s time for the pièce de résistance – the bags. Flatten your plastic bags, fold them in half, and roll them up one by one. Insert your neat roll of bags into your decorated coffee can. Make sure the first bag’s handles are coming out of the semi-circle hole on the lid. Voila! Your Plastic Bag Dispenser is ready.
Remember, the more love you put into your creation, the more it will shine. Don’t rush the process, embrace each step, and have fun while you’re at it! ????
Note: This DIY project is an excellent opportunity to recycle and reduce waste in your home. Also, it makes a great gift! Who wouldn’t love a handmade, eco-friendly, and super useful present?
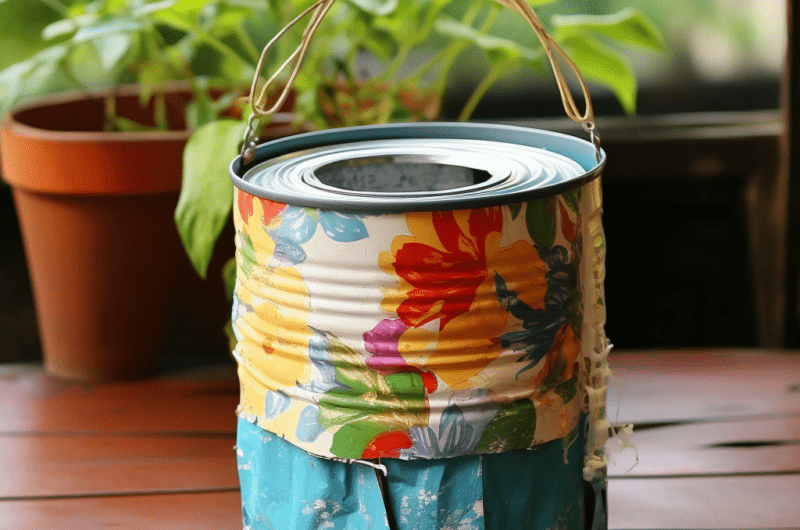
Plastic Bag Dispenser
Difficulty: Easy2
hoursA DIY guide to creating an organized, reusable, and easy-to-use plastic bag dispenser.
Materials and Tools
Coffee can
Utility knife
Acrylic paint
Paint brush
Clear tape
Directions
- Remove the lid from the coffee can and cut a semi-circle hole (about 2 inches wide) in the plastic lid using the utility knife.
- Paint the can with the acrylic paint and let it dry for a couple of hours.
- Once the paint is completely dry, put the lid back on the can. Reinforce the cut edge of the semi-circle on the lid with clear tape.
- Flatten your plastic bags, fold them in half, and roll them up one by one. Insert your neat roll of bags into your decorated coffee can. Make sure the first bag’s handles are coming out of the semi-circle hole on the lid.
Notes
- This DIY project is an excellent opportunity to recycle and reduce waste in your home. It also makes a great gift!
Frequently Asked Questions
1. Can I use something other than a coffee can?
Definitely! Any cylindrical container with a lid (like a Pringles can) will do. Just make sure it’s cleaned thoroughly.
2. Is acrylic paint necessary?
Not at all. Feel free to use any water-resistant paint or even cover your can in fabric or decoupage. Get creative!
3. What if I don’t have clear tape?
Any strong tape can do the job, but clear tape keeps it aesthetic. If safety is a concern, you can sand down the cut edge instead.
4. How many bags can this hold?
Depending on the size of your container and bags, you could easily store 15-20 bags. But remember, it’s not a competition!
