Hey there, homebodies! ???? Guess what’s brewing in our DIY den today? A wink to a bedroom essential that you’re probably missing. No, it’s not a secret door leading to Narnia (unfortunately). But hey, it’s the next best thing! Let’s get on this journey to create a DIY bedside caddy. ???? ????
Why this bedside buddy, you ask? Well, imagine saying goodbye to the chaos of a cluttered nightstand and having your book ????, TV remote ????, and those sneaky spectacles ???? right at your fingertips! It’s pure bliss, right? Plus, it’s an excellent way to upcycle some of your old materials. ????????
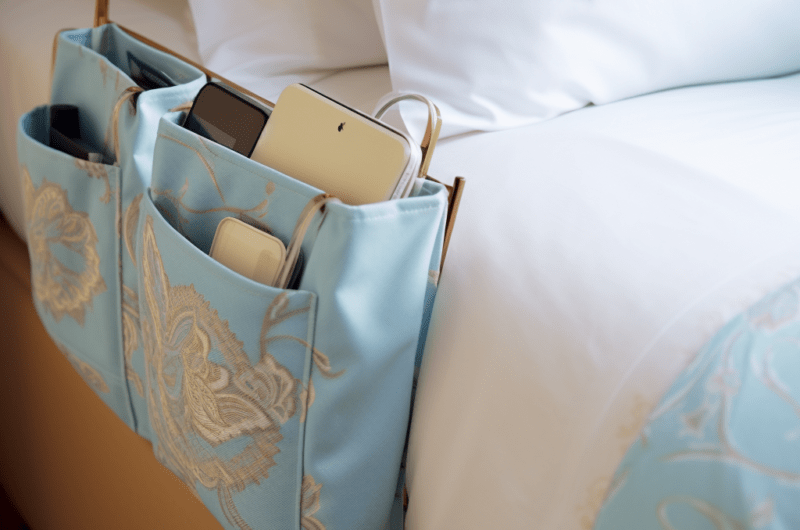
A Bedside Caddy: Your Night-Time Knight
Not to toot our own horns, but this project is a perfect combination of form and function. It’s going to look fabulous dangling off your bed, storing all your essential stuff. Say goodnight to the times when you had to play hide and seek with your night-time essentials! ????????
And the best part? It’s easy-peasy-lemon-squeezy. ???? A few simple materials, a dash of creativity, a sprinkle of time, and voilà – a snazzy bedside caddy is all yours. Let’s get into the nitty-gritty of this DIY extravaganza. ????
Let’s Build This Buddy!
Our DIY gurus ????♂️ have broken down this project into detailed, easy-to-follow steps. So, grab your DIY hat, roll up your sleeves, and let’s make some magic!✨
But before we begin, let’s gear up! Safety is always stylish, remember? ???? So, put on your safety goggles, gloves, and unleash the DIYer within you.
DIY Bedside Caddy
Difficulty: Easy20
$A fun and creative DIY project to create a handy bedside caddy.
Equipment
- Tools
Sewing machine
Fabric scissors
Ruler
Pencil
- Materials
Thick fabric (like denim or canvas)
Contrasting thread
Velcro strips
Bias tape
Instructions
- First off, measure and cut two rectangles of fabric, each 16 inches by 27 inches. These are for the body of your caddy.
- Next, let’s work on the pockets. Cut two pieces of fabric, each 16 inches by 12 inches.
- Sew bias tape along one of the 16-inch sides of each pocket piece. This gives your pocket a neat top edge.
- Now, place one pocket on top of one of the caddy body pieces, aligning the bottom and sides. Sew along the sides and bottom to secure.
- Repeat the previous step with the other body piece and pocket.
- Decide where you want your pockets to be. Mark these on the fabric with your pencil, and then sew from the pocket bottom to the top, backstitching at the start and end to secure.
- Next, place your two caddy body pieces together with the right sides (the sides with the pockets) facing each other. Sew all the way around, but leave a gap at the top for turning.
- Turn the caddy right side out and press. Then, sew the top gap closed. Your caddy is now ready to attach to the bed. Place it where you want it to go, then mark and attach your Velcro strips.
Notes
- Be sure to use a fabric that’s sturdy enough to hold up to use, like denim or canvas.
- If you don’t want to use Velcro, you could also use snaps or ties to attach the caddy to the bed.
- You can adjust the pocket sizes to suit your needs. For example, you might want a wider pocket for a book or tablet, and narrower ones for a remote or phone.
Frequently Asked Questions
1. Can I use any type of fabric for this project?
You can use any type of fabric, but we recommend using a thicker fabric like denim or canvas. These fabrics are sturdy and can hold up to wear and tear.
2. Can I wash the bed caddy?
Yes, you can wash the bed caddy. However, make sure to check the washing instructions for the fabric you used. If you’ve used Velcro, it may be a good idea to close it before washing to prevent it from sticking to other items.
3. Can I customize the pocket sizes?
Absolutely! This tutorial provides a basic guide, but feel free to customize the pocket sizes based on what items you plan to put in it. For example, if you want to store a larger book, you may need a bigger pocket.
4. I don’t have a sewing machine. Can I sew this by hand?
You can definitely sew this by hand, although it might take a bit longer. Just make sure your stitches are tight and secure to ensure the longevity of your caddy.
So there you go, folks! With a bit of effort and creativity, you have your very own bedside caddy. This is an excellent project for beginners, and it also makes for a thoughtful and practical gift. Plus, it’s eco-friendly and encourages upcycling – a total win-win! ???? ????
Remember, your home is a canvas, and you are the artist. So don’t shy away from getting your hands a little dirty and creating something unique and practical. Happy DIY-ing! ???? ✂️